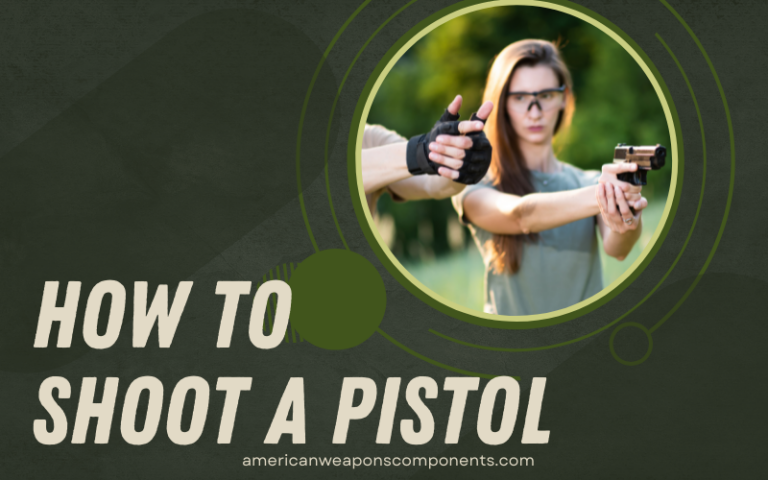
Ever wondered how to shoot a pistol? If you’re new to the handgun world or just want to make more accurate shots, this article will thoroughly go through the steps to correctly shoot your handgun, whatever shape, size or caliber you prefer.
Steps for Proper Shooting:
The most important components of shooting a pistol correctly are:
- Grip
- Sight Picture
- Trigger Pull
- Follow-up
Step 1: Grip
Grip is extremely crucial. Without a tight, correct grip, getting your rounds downrange where you want them will be very difficult.
Grip the pistol firmly but not too tight with your dominant hand. When you’re comfortable with where that hand is, bring your support hand (non-dominant hand) up to the grip of the gun.
Put all your fingers on the grip. The pointer finger of your dominant hand will pull the trigger when you’re ready for that (keep it out of the trigger guard until you’re ready to shoot) and your support hand pointer finger should be resting underneath the trigger guard.
As for your thumbs, both should be pointing the same direction as the muzzle of your firearm, your support hand thumb directly underneath your dominant hand thumb.
Grip tighter with your support hand than your dominant hand; this will help with keeping the gun straight during your trigger pull which we’ll talk about in a minute.
As you push the gun out towards your target, cinch your grip down a bit and lock your wrists out. This will aid in your follow up shots, allowing you to get the gun back on target more quickly.
Follow these steps and you will soon learn better how to shoot a pistol.
Step 2: Sight Picture
Aligning your sights properly is a big part of putting your round on target anywhere. This will help for learning how to shoot a pistol accurately at 25 yards and distances closer and farther.
Most handguns have a three dot setup for sights or something similar. There is one dot at the very front of the gun on the slide for semi-automatic handguns or on the barrel itself for revolvers and two closer to the back of the pistol.
With the three dot sights, put the front dot in between the two rear dots.
Neither the front or the rear should appear taller or shorter, but instead level with each other. You should be able to see the entire dot in the front directly in between the two rear dots.
Put the front sight, aligned in between the two rear sights, on your target. You should be able to see both the target and the front sight.
As you learn more about how to shoot a pistol correctly and become more experienced, you will find yourself being able to focus more on the target itself.
Keeping these sights aligned properly will allow you to hit targets while moving. The faster you can re-align your sights after taking a shot, the faster you will be able to take your next shot.
Step 3: Trigger Pull
A good trigger pull is more important in how to shoot a pistol than most people think. If you are pulling too forcefully or erratically, it will be very difficult to hit your intended target.
A smooth trigger pull will help you the most. This can be easier or more difficult depending on your weapon of choice, but the principle remains the same.
When your grip is strong and your sight picture looks good, pull the trigger towards you with the top portion of your pointer finger. Do your best to smoothly pull straight back towards you, not towards the side. Keeping the sights aligned during this process is crucial.
Avoid the tendency almost everyone has to anticipate when the shot will go off as this will cause you to flinch. There are drills to help with this such as the ball and dummy drill. This drill and others can assist you with how to shoot a pistol.
After pulling the trigger all the way to the rear and making your shot, you will begin your follow up for your next shot.
Step 4: Follow Up
Following up properly after a shot can speed up the time in between your shots and make you a more effective shooter. Your follow up consists of:
- Trigger reset
- Sight Re-Alignment
Trigger reset is different on different kinds of handguns, and as you learn how to shoot a pistol, you will learn about the different kinds of pistols and how each of these steps work for each one.
With most pistols, there is a tangible feeling of the trigger “resetting”. Sometimes this reset is audible as well.
The reset is important. You are letting your trigger finger forward again and if you don’t let it forward far enough, you won’t be able to shoot again. Letting it forward too far past the reset adds time to your next shot.
While learning how to shoot a pistol, let the trigger forward slowly after each shot. Do so slowly enough that you begin to feel where the reset is each time.
After you reach the reset point, don’t bring your finger forward any further. This is the point at which your trigger is ready for the next shot.
While doing this with your trigger finger, you are going to align your sights again, using the same directions as above. The recoil from the shot will have made your sights come off target.
Having your wrists locked out and the gun gripped tightly with your support hand will aid in keeping the felt recoil to a minimum so that you can get your sights picture back to where you want it again more quickly.
As soon as your sights are back where they should be and on target, you can shoot again.
Final Thoughts
Following the steps listed above will help you with how to shoot a pistol accurately and quickly.
Repeated practice of these steps, both on and off the range will make a huge difference in your handgun shooting.
You can even dry fire with these steps in your own home, something I do a couple nights a week to improve my aim and speed.